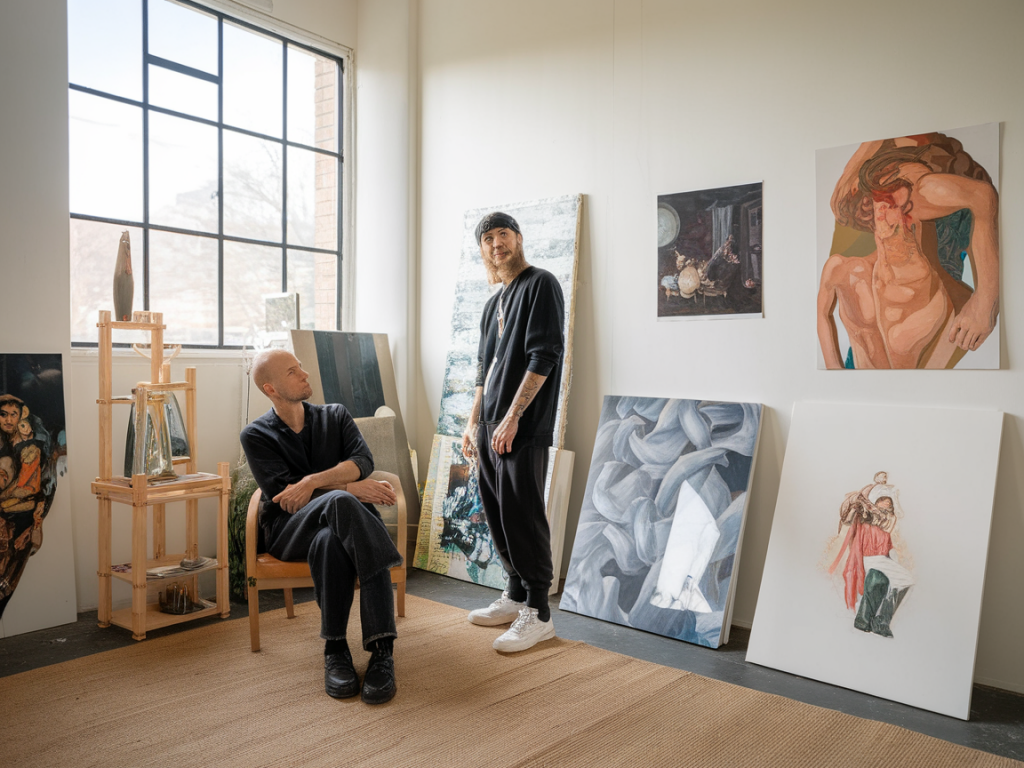
I always approach studio visits with a clear intention: to turn generous, focused conversation into practical edits that push work toward clarity and, when relevant, gallery readiness. Over the years I’ve learned that a ninety-minute visit is a sweet spot — long enough to get under the surface, short enough to keep momentum. Here’s the structure I use (and adapt) that makes those visits effective for both the artist and the viewer.
Before the visit: set expectations
I ask the artist to send a short brief and a few images in advance. This isn’t for me to judge beforehand, but to arrive prepared. The brief usually includes:
If the artist is preparing for a specific opportunity — an open call, gallery show, or portfolio review — I ask for that context. When you know the constraints and the audience you’re aiming for, feedback becomes far more actionable.
How I open the visit (0–10 minutes)
I like to start informally. While making tea or walking around the studio I ask the artist to give me a two-minute overview of the work and where they feel stuck. This is deliberately short: it forces clarity and surfaces the concerns I should prioritise.
Opening questions I use:
Framing the visit like this sets a collaborative tone and avoids a scattergun critique.
Guided viewing and measurements (10–30 minutes)
Next, we do a slow guided viewing. I ask the artist to lead, describing materials, layers, and sequences of work. While listening I take quick notes and photographs for reference. Practical things I record:
Taking measurements is often overlooked but invaluable — gallery spaces require precise hanging heights and spacing. I use a tape measure and a phone camera; apps like Magicplan or simple camera annotations can be handy for follow-up plans.
Targeted critique session (30–60 minutes)
With context and measurements in hand, we move into focused critique. I keep this segment structured into three lenses so feedback stays constructive:
For each lens I alternate between describing what I see and asking questions. Instead of telling someone their palette is “wrong”, I might ask: “When you look at this from a distance, what do you want the eye to land on first?” or “Which piece best represents this series’ intent?” Those questions help the artist make decisions rather than simply absorb opinions.
Quick interventions and experiments (60–75 minutes)
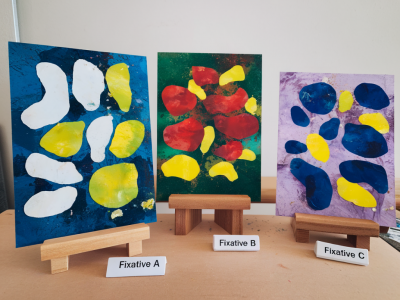
One of my favourite parts of a visit is a short, practical experiment. We choose one or two small interventions to test in real time — a crop, a tonal adjustment, or a change to the edge treatment. These mini-experiments are low-risk and give immediate visual evidence of a direction.
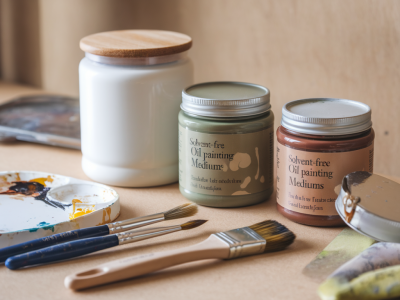
I bring a small kit: neutral acrylic gesso, a charcoal pencil, masking tape, kraft paper, a range of small brushes and a jar for solvent-free medium. If you’re coming empty-handed, suggest the artist have basic materials ready — they’ll value the immediacy of the test.
Action plan and prioritised edits (75–85 minutes)
After experiments we map out an action plan. I help the artist prioritise edits by impact and time required. A simple table is useful here — one column for “High impact / Low time”, another for “High impact / High time”, and so on. Below is a sample layout I often use on paper or in an email later.
| Task | Priority | Estimated time | Notes |
|---|---|---|---|
| Tighten the edge treatment on three canvases | High | 2–3 hours | Use gesso to create crisp edges; photograph before/after |
| Test neutral glaze over midtones | Medium | 1 hour (+drying) | Will unify palette across series |
| Select 6 works for exhibition | High | Evening session | Measure and plan hanging heights |
Follow-up and documentation (85–90 minutes)
I always end by summarising next steps aloud and agreeing how I’ll follow up. I take a few final photos with the artist’s permission and send a quick email afterwards with:
This follow-up is crucial: it turns the energy of the visit into accountability. Artists tell me that having a short emailed plan makes it far more likely they’ll act on suggestions.
Practical tips to keep critique useful, not paralyzing
A ninety-minute structure doesn’t guarantee transformative results, but it creates the conditions for clear, practical decision-making. When critique is framed, practiced and followed up with tangible steps, the messy energy of the studio becomes a roadmap toward stronger edits and work that reads confidently in the gallery.