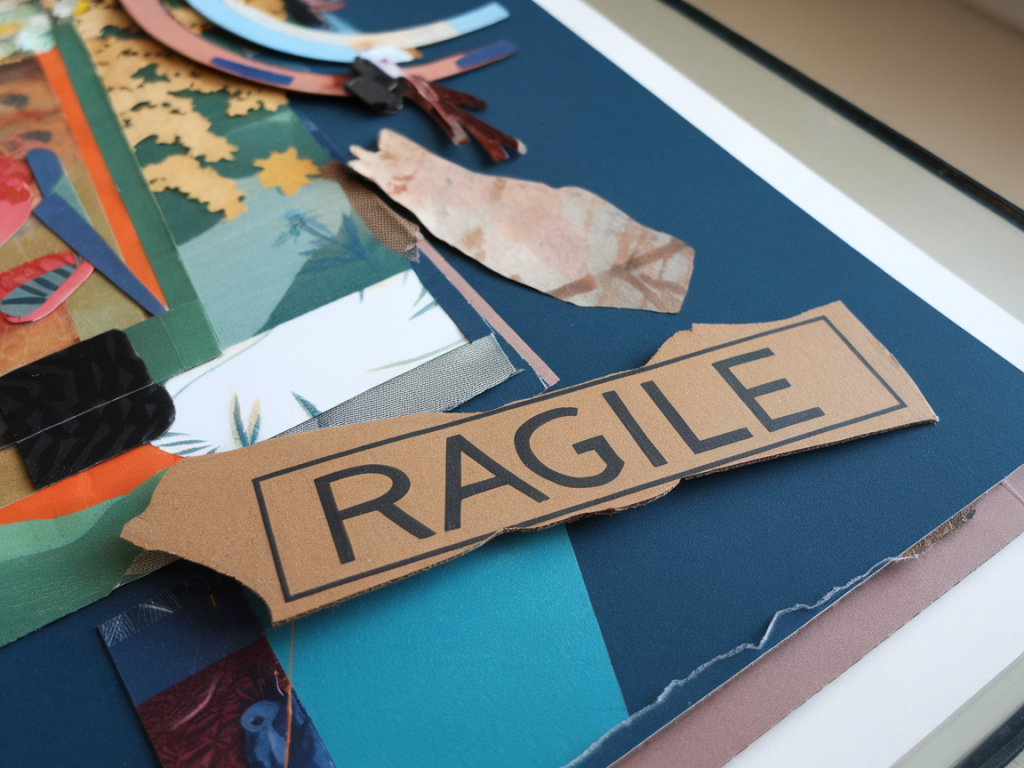
I ship a lot of collage work — small studies, commission pieces and fragile mixed‑media experiments — and over the years I’ve learned the hard way that exposed torn or layered edges are the most vulnerable part of a piece. One knock in transit, a sweaty day in a van, or an overzealous courier can lift a fragment, crease a thin paper tongue or crush a corner. I now treat edge stabilisation as part of the artwork, not an afterthought. Below is the practical, step‑by‑step checklist I use whenever I need to stabilise fragile collage edges for shipping.
Quick overview: what I aim to achieve
Before we get into materials and steps, here’s the simple goal I work towards for every parcel:
- Secure loose or fragile edges without altering the look of the piece.
- Create a protective buffer between the artwork and the outside world (box, tape, edges).
- Use archival, reversible or conservation‑minded materials where possible.
- Make the package robust so it survives handling, temperature changes and humidity.
Materials I keep on hand
Below are the products I regularly use. You don’t need everything — choose what makes sense for the size and value of the work.
- Archival tapes: Filmoplast P90 (removable), Japanese paper tapes (wheat starch paste compatible).
- Adhesives: Reversible PVA (e.g., Lineco PVA), wheat starch paste for delicate repairs.
- Japanese tissue (thin & medium weights): for edge overlays and hinges.
- Archival acid‑free tissue paper for interleaving.
- Rigid backing boards: 3–5mm conservation board or foamboard (acid‑free).
- Corner protectors: cardboard or moulded foam.
- Bubble wrap (small bubbles) and Ethafoam or foam sheeting.
- Gummed kraft tape and paper breathable tape for sealing the box.
- Polythene sleeve (archival quality) or glassine envelope.
- pH‑neutral adhesive dots / gel tack for temporary securing inside the box.
- Scalpel, bone folder, micro‑spatula, brushes for precise application.
- Hygrometer or silica gel packets if humidity is a concern.
Assess the artwork: where are the risks?
Handle the piece with clean hands or gloves and place it face up on a flat, padded surface. I look for:
- Loose flakes or lifted corners of paper.
- High‑relief elements that could compress or shear.
- Edges where the collage looks thin, torn or unsupported.
- Materials sensitive to moisture (charcoal, pastel, friable acrylic).
Note each vulnerable area — I mark tiny removable paper tabs at the edge (not stuck to the art) to document spots that need attention.
Step‑by‑step stabilisation checklist
Work in a dust‑free space and keep tools close. The following order is what I follow for most small‑to‑medium collages.
- 1. Surface clean: Lightly brush the surface with a soft brush to remove loose dust. Never use compressed air close to lifted edges.
- 2. Local humidification (if edges are cockled): For cockled paper edges that won’t lie flat, a controlled local humidification under a dome for a few minutes can relax fibres. I use a small humidity chamber or a damp blotter at a distance — be conservative. If you’re unsure, skip this step and consult a conservator.
- 3. Edge backing with Japanese tissue: For torn or thin edges I cut a strip of long‑fibre Japanese tissue large enough to overlap the fragile area by a few millimetres. Mix a dilute wheat starch paste or PVA (very thin) on a palette and apply with a tiny brush to the tissue, not the artwork. Gently lay the tissue over the edge so it wraps marginally onto the front and back, smoothing with a bone folder through a sheet of release paper. Let dry under a weighted blotter.
- 4. Use reversible tape for very small lifts: Tiny raised corners can be readhered with Filmoplast P90 or similar archival tape applied to the reverse. Trim tape so it doesn’t wrap over the edge where visually important.
- 5. Create a continuous perimeter stabiliser for very fragile works: If the whole edge is vulnerable (eg. collage on thin paper), I attach a narrow strip of 100gsm Japanese tissue around the entire perimeter on the verso. This acts like a stabilising collar and spreads stress across a larger area when the work is handled.
- 6. Add a backing board: Once edges are stabilised and thoroughly dry, adhere the work to a rigid acid‑free board using a reversible hinge method: make two small Japanese tissue hinges at the top edge so the piece floats slightly away from the board, preventing tension. Alternatively use archival photo corners if you prefer not to attach directly.
- 7. Protect the recto with interleaving: Place an acid‑free tissue or glassine sheet over the front. For works with paste or heavy pigments, use a separate piece cut to size and taped gently to the backing board edges only.
- 8. Sleeve the piece: Slide the boarded piece into an archival polythene sleeve (or glassine envelope for textured surfaces). The sleeve keeps dust off and avoids direct contact between bubble wrap and the artwork.
Packing into a box
Now the art is stabilised, think of the parcel as a sandwich: protected centre, cushioning either side, and rigid outer shells.
- Choose a slightly larger double‑wall cardboard box than the artwork plus padding. I usually allow ~3–4cm clearance on all sides.
- Line the box base with a layer of foam sheeting or several layers of corrugated cardboard.
- Place the sleeved artwork on the base and surround it with bubble wrap or compact Ethafoam. Make sure the artwork can’t move — movement is the enemy.
- Use corner protectors around the boarded corners; they take the brunt of knocks.
- Seal with gummed kraft tape or paper tape — avoid plastic tapes stuck to the artwork itself. Label the box clearly with “Fragile — Do Not Bend” and “This way up” arrows.
- Include handling instructions and contact info inside: seller name, phone, and a checklist for the courier if needed.
Humidity, insurance and documentation
Moisture and temperature changes can cause lifting or adhesive failure. If the item is sensitive or shipping long distances:
- Include silica gel packets (sealed in a small breathable pouch) to control humidity.
- Record high‑resolution photographs of the work before packing, showing details of edges. This helps with insurance claims and gives the recipient a condition record.
- Insure the parcel for the full value — I always choose a specialist art shippers’ option when available.
When to call a conservator
For historic materials, extremely friable media (eg. wet‑over‑dry charcoal), or items of high value, ask a conservator to do the stabilisation. DIY stabilisation is fine for most contemporary collages and small works, but if in doubt — consult a professional. Local university conservation departments or independent conservators are good starting points.
Fast checklist you can print
| Before packing | Clean surface, mark fragile spots, photograph |
| Stabilisation | Japanese tissue overlays, reversible tape, perimeter collar |
| Mounting | Adhere with hinges to rigid acid‑free board or use photo corners |
| Protection | Glassine or archival sleeve, corner protectors, interleaving |
| Packing | Rigid double‑wall box, foam/bubble padding, silica gel, seal & label |
| Documentation | Photos, contact details inside, insurance |
These practices have saved me from a few heartbreaks: once a small collage that had a very delicate torn edge arrived in perfect condition because I’d wrapped a thin tissue collar around the entire piece and shipped it on a foamboard. If you try this checklist, adapt the steps to your materials — there’s no one‑size‑fits‑all — and keep detailed notes so you can repeat what works.