Techniques

How to desalinate and stabilise water-damaged collage papers for framing without specialist conservation help

How to desalinate and stabilise water-damaged collage papers for framing without specialist conservation help

I once rescued a small pile of collage works that had been exposed to a leaking roof after a storm. They were damp, cockled and stained with a faint ring of salty residue where contaminated rainwater had evaporated. I didn’t have access to a conservation lab, but I wanted to stabilise them so I could frame and enjoy them without causing further damage. The methods I outline below are practical, low-cost and conservative — intended for makers and small-scale studio situations rather than highly valuable or museum pieces. They work best on paper-based collages that use water-tolerant media (gouache, acrylic, acrylic ink) and non-reactive adhesives. If a piece has significant cultural or monetary value, or if media are extremely friable or soluble, consult a trained paper conservator.

First, assess and test

Before you touch anything, take a careful look and make notes. I photograph both sides of each piece, including close-ups of tears, media, and any staining. Ask yourself:

  • Is the media water-soluble? (Test a hidden corner with a damp swab.)
  • Are there salt-like crystals or a gritty residue? These indicate desalination will be needed.
  • How strong are the paper and adhesives? Do torn edges lift or crumble?
  • Do a spot test: moisten a cotton bud with distilled water and lightly touch a less-visible area. If colour bleeds or the ink runs, you’ll need to avoid washing and instead try surface cleaning and stabilisation only.

    Materials I use (easy to source)

  • Distilled water (very important — tap water can introduce minerals and salts).
  • A shallow, clean plastic or stainless-steel tray large enough for your artwork.
  • A fine polyester window screen or acid-free mesh to support paper in the bath.
  • Absorbent blotting paper or unprinted paper towels (use archival blotters if you have them; otherwise use good-quality, soft paper towels sparingly).
  • Clean weights (glass or plexiglass sheets and a couple of heavy books).
  • Soft brushes, cotton buds, microfibre cloths.
  • Japanese tissue (kozo) and wheat starch paste or methyl cellulose for minor repairs — these are reversible and relatively easy to use.
  • pH test strips (optional, helpful if you’ve had floodwater exposure and want to check acidity).
  • Surface cleaning and salt removal

    If you can see crystalline residue or gritty deposits, desalination is essential because salts left in the paper will continue to cause staining and embrittlement as humidity fluctuates.

    1) Dry-surface cleaning: Once the piece is dry enough to handle, gently brush the surface with a very soft, dry brush (a hake or a soft toothbrush) to remove loose dirt and salt crystals. Do this over a tray so residues don’t fall back onto the paper.

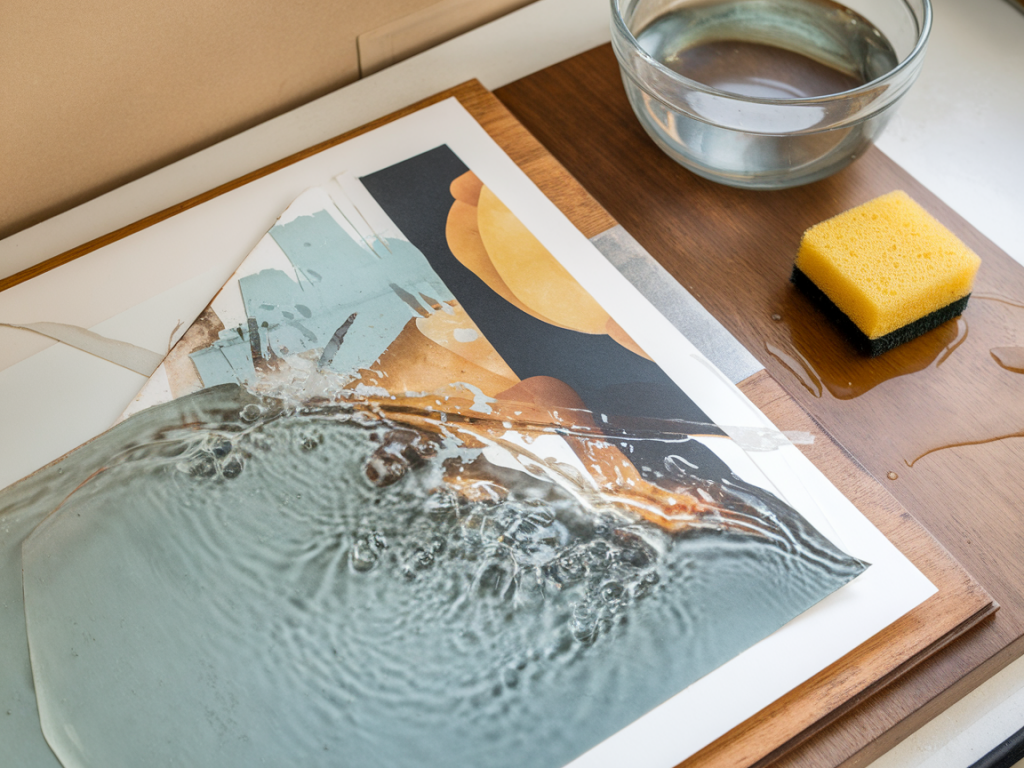
    2) Controlled wet-cleaning (desalination bath): If your spot test showed no pigment bleed, prepare a shallow bath of distilled water. Support the paper on the polyester screen so it doesn’t sag. Slowly lower the work into the water — never plunge quickly, as trapped air can lift delicate layers.

    Let the piece rest on the support for a few minutes; you’ll often see salts leach out as cloudy particles. Replace the bath water every 10–20 minutes until it runs almost clear — typically 2–4 changes for lightly contaminated paper. For stronger contamination, repeat the cycle. Keep baths cool (room temperature) and out of direct sunlight.

    Notes and cautions:

  • Do not agitate or rub while in the bath — gentle movement of clean water is enough to draw out soluble salts.
  • If media are moderately soluble, you can localise desalination by using a poultice: lay dampened blotting paper over the stained area, change it frequently, and allow salts to migrate into the blotters. This avoids submerging the whole sheet.
  • Drying and flattening without distorting collage layers

    Once desalinated, you need to dry carefully to avoid cockling or adhesives reactivating and shifting collaged elements.

  • Remove excess surface water by very gently blotting with a microfiber cloth or blotting paper. Do this by touching, not rubbing.
  • Place the work face-up on a sheet of clean blotter or uncoated archival paper. Lay another sheet on top and then a flat board (plexiglass, MDF) and gentle even weights. The blotters will draw moisture away while the flat board keeps the piece reasonably planar.
  • Change the top blotter every few hours during the first day to speed drying and reduce tidelines. For thicker collages, allow slower drying to minimise stress.
  • A drying rack with good airflow is another option if flattening is not urgent. Never use a hairdryer or direct heat — this can cause media to re-activate or distort.
  • Mending tears and stabilising loose edges

    Once dry, evaluate whether paper edges or collage layers need securement.

  • For tiny corner lifts, use a dab of methyl cellulose or diluted wheat starch paste applied with a tiny brush, then press with a bone folder through a sheet of silicone release paper to avoid sticking. Wheat starch paste is archival and reversible — a great go-to for makers.
  • Tears are best bridged with Japanese tissue and paste: cut a narrow strip, paste it lightly and place across the tear on the verso (back). This keeps the repair discreet and stable for framing.
  • Preventing future problems before framing

    Even after desalination, framed works need protection:

  • Use archival, alkaline-buffered mountboard or backboard to keep acidity low.
  • Avoid direct contact between collage surfaces and glazing — use a spacer or bevelled mat to create airspace. Acrylic glazing (Perspex/plexi) is lighter and shatterproof; UV-filtering acrylic adds protection from light damage.
  • Ensure the frame seals are good but not hermetic; a tiny gap for moisture equalisation is healthy to prevent trapped humidity.
  • Common pitfalls and how I avoid them

    “I washed it and all the colours ran” — this is why spot-testing is essential. If media are unstable, use localised poulticing rather than full immersion.

    “The collage peeled when it dried” — that usually means the adhesive wasn’t stable or moisture reactivated adhesive layers. Be conservative with water near adhered elements; support them with a mesh and desiccate slowly with blotters and weight.

    “I saw white residues after drying again” — that’s leftover salts. Repeat desalination cycles and use frequent blotter changes during drying.

    When to stop and call a conservator

    If you encounter any of the following, consult a paper conservator:

  • works with iron gall ink or highly fugitive pigments;
  • severe distortion, brittleness or active mold;
  • collages with mixed media that include plastics, metal foils or photographic elements;
  • high-value or irreplaceable items.
  • Conservators have access to alkaline baths, solvents, and controlled drying equipment that go beyond safe home practice.

    These restorative steps have helped me save a surprising number of collage pieces from the brink: a careful balance of patience, test-patches and simple materials goes a long way. Keep notes of what you do for each piece — it’s invaluable if you need to revisit a treatment or pass information to a conservator later.
    You should also check the following news:

    Exactly when to choose schmincke gouache versus student brands for colourfast underpaintings in mixed-media work

    Exactly when to choose schmincke gouache versus student brands for colourfast underpaintings in mixed-media work

    I remember the first time I decided to use gouache as an underpainting in a mixed‑media piece: I...

    Aug 04
    Which portable LED panel settings and camera hacks stop iridescent pigments from blowing out on phone photos

    Which portable LED panel settings and camera hacks stop iridescent pigments from blowing out on phone photos

    I spent a rainy afternoon last week photographing a new series that uses iridescent powders and...

    Aug 20