Techniques

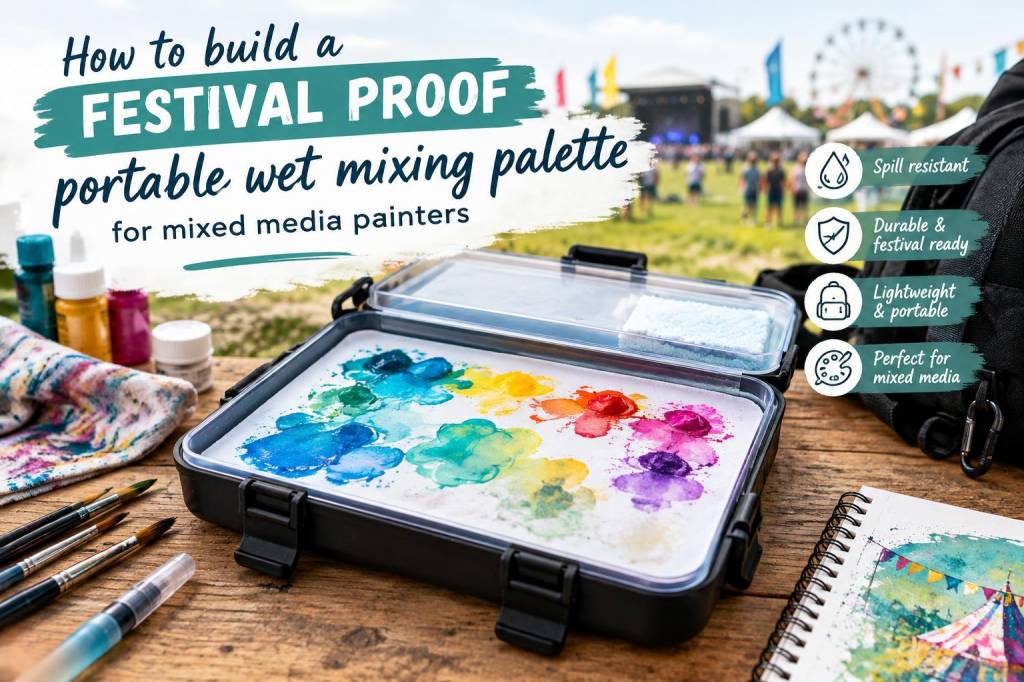
How to build a festival-proof portable wet-mixing palette for mixed-media painters

How to build a festival-proof portable wet-mixing palette for mixed-media painters

I’ve spent many summers painting outdoors at busy arts festivals, learning quickly that a studio wet palette simply doesn’t cut it when there’s dust, wind and a queue of curious visitors. Over time I developed a compact, festival-proof wet-mixing palette setup that keeps paints workable for hours, prevents spills, and fits in a small day bag. Below I’ll share the exact materials I use, step-by-step assembly, tweaks for different media (acrylics, gouache, water-soluble inks), and troubleshooting tips so you can adapt it to your practice.

Why a festival-proof wet palette matters

At events I need paints to stay juicy without constant rewetting, and I don’t want to be hovering over a delicate stack of baking paper while someone bumps my table. A good field palette should:

  • keep paint workable for several hours without drying out;
  • be sealed to prevent dust and rain getting in;
  • be stable and spill-resistant;
  • fit into a small bag and be quick to set up and pack away.
  • These constraints shaped my solution: a low-profile sealed container, an absorbent sponge or microfiber layer for controlled moisture, and an easy-to-clean non-stick surface for mixing.

    Materials I use (compact and festival-ready)

    I try to use materials that are cheap, replaceable and available locally. Here’s what’s in my kit:

  • Sealable plastic container — I use a shallow, airtight food-storage box with a rubber gasket and snap locks (I like Lock & Lock or Sistema). Size: ~25 x 18 x 4 cm for a generous palette; there are smaller options if you prefer.
  • Microfibre cloth or sponge — A thin craft sponge or a microfiber cloth cut to size makes a great moisture reservoir. I prefer microfiber as it’s compact and maintains moisture evenly.
  • Non-stick palette surface — Baking/parchment paper works well, but I favour pre-cut silicone sheets (silicone baking mat), or disposable Duralar/mylar sheets which are durable and clean easily.
  • Paper towel or scrub pad — For wiping brushes and edge dampening.
  • Small spray bottle — A fine mist bottle to reactivate the reservoir.
  • Masking tape or elastic bands — To hold the palette sheet in place.
  • Portable clipboard or lightweight board — If you want to clamp the palette to an easel or lap desk.
  • Optional: Sta-Wet or Mijello Stay-Wet palette paper — If you prefer a purpose-made solution; they’re great but bulkier and more expensive.
  • How I assemble the palette — step by step

    This routine takes me about three minutes once everything’s pre-cut.

  • Cut the microfiber cloth or sponge to fit the container base snugly. It should be slightly smaller than the base so the lid seals properly.
  • Soak the cloth/sponge with clean water and wring out until it’s damp but not dripping. You want an even moisture level — if it’s too wet your paints will thin out more than you like.
  • Lay your non-stick sheet (silicone or Mylar) over the damp cloth. Smooth out any air pockets — the sheet should sit flat and have a bit of give so the cloth can feed moisture through.
  • Use a small strip of masking tape or an elastic band to anchor the sheet at two opposite edges. This prevents it from sliding when you move the box or lift the lid.
  • Place your paints on the sheet. If you mix a lot, leave some empty space for blends; for small palettes I put blobs of gouache or acrylic in a semi-circle.
  • Close the lid and snap it shut. The airtight seal is crucial for preventing dust and slowing evaporation.
  • Adapting for different media

    Acrylics: I keep the cloth damp and use a tiny touch of acrylic medium (retarder or open medium) mixed into primary colours for additional workability. Avoid over-wetting—acrylics should hold shape but be workable with a palette knife or brush.

    Gouache: Gouache benefits from a slightly wetter reservoir because it dries matte and can cake. I keep the microfiber a bit wetter and use accordion-folded parchment on top of the silicone sheet for gentle rewetting when needed. If you want it even tackier, a very light mist of gum arabic can help reactivate gouache strokes.

    Water-soluble inks and watercolour: Use less water in the reservoir and consider a thinner silicone sheet so pigments don’t pool. For inks, I carry spare pipettes and a small jar of water for dilutions.

    Preventing spills and dust

    Two things have saved me from festival disasters: a lip around the edge of the container and a simple clip system.

  • Choose a container with snap-locks and a gasket to prevent water ingress and dust. The silicone gasket is non-negotiable if you’re working outdoors.
  • Keep a strip of masking tape or velcro on the underside of the lid to hold palette knives in place when you’re moving between locations.
  • If wind is an issue, hold the box closed with an extra band and set it face-down on a flat surface; the gasket does most of the work.
  • How I transport and set up at a festival

    I pack the palette horizontally in a small day bag. If I have brushes loaded, I place them in a separate brush tube or cup to stop bristles from being crushed. When I get to my stall:

  • Open the lid carefully and set the palette on a low tray or a clipboard to give it a slight angle (this helps mixing and stops pooling).
  • Keep your spray bottle and a small jar of distilled water handy — I use the spray for quick reactivation and the jar if I need more significant re-wetting.
  • Top up the cloth between sessions with a quick mist rather than pouring water directly onto the sheet; this keeps the balance right.
  • Cleaning and maintenance

    At the end of the day I wipe most paint off the silicone or Mylar sheet with kitchen roll, then wash with a little dish soap. Replace the microfiber cloth every few months or when it starts to retain paint residue. If you use acrylics heavily, a quick scrub with isopropyl alcohol helps remove stubborn dried edges.

    Products I recommend

    ProductWhy I like it
    Lock & Lock shallow boxReliable airtight seal, readily available sizes.
    Silicone baking mat (small)Durable, non-stick, easy to clean.
    Mijello Sta-Wet PalettePurpose-made, keeps paints moist for days—good if you prefer a ready-made solution.
    Microfiber cloth (craft)Compact, even moisture delivery, machine-washable.

    Troubleshooting common problems

    Paint still drying too fast: your cloth is too dry or the seal isn’t airtight. Add a little more moisture and check the lid gasket.

    Paint becomes too thin or runny: the cloth is too wet or you’ve used too much retarder/medium. Wring the cloth a little more and blot the sheet with paper towel.

    Dust getting in: seal the box between sessions and place a light cloth over the palette if you must leave it open briefly.

    Colours staining the sheet: switch to a Mylar/Duralar sheet which is less porous than parchment and resists staining better.

    If you’d like, I can sketch a diagram of my exact layout or suggest a miniature kit list tailored to the size of your bag and the media you use. Festival painting is equal parts preparation and improvisation — with the right portable wet palette, you can focus on making work and chatting with visitors rather than rescuing drying paints.
    You should also check the following news:

    What to photograph first when preparing iridescent gouache layers for giclée proofs

    What to photograph first when preparing iridescent gouache layers for giclée proofs

    I often think of iridescent gouache as a material that lives in two worlds: the pigment is at once...

    Oct 05
    can you mix schmincke gouache and liquitex soft body acrylics in a single layer? a controlled adhesion and drying test

    can you mix schmincke gouache and liquitex soft body acrylics in a single layer? a controlled adhesion and drying test

    Why I wanted to test gouache with soft-body acrylicsI've long loved the matt, opaque quality of...

    Sep 13