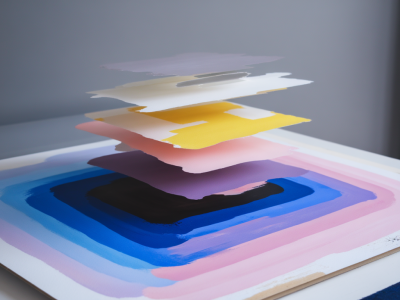
Water damage to a gouache painting can feel like a small disaster — colours that bled, paper cockled, edges that softened into a muddy haze. I’ve had my fair share of chilly mornings in the studio when a cup tipped, or a storage envelope let in damp during transport. Over time I’ve developed a practical, step-by-step approach that combines absorbent blotting, considered rehydration and the careful use of conservation adhesives to stabilise the surface and, where possible, recover lost detail. Below I describe the methods I use most often; they’re intended for gouache on paper and assume you’re working on original artwork rather than irreplaceable historical pieces. For valuable, heavily weakened or historically important works, consult a trained conservator first.
Initial assessment: what to look for
Before touching anything, I take a close look under good light and photograph the painting. In my notes I record the paper type (cold-press, hot-press, cartridge), the extent of damage (localized splash, overall tide lines), and any areas where pigment has flaked or lifted. Key questions I ask myself are:
These observations guide everything that follows. If the pigment layer is heavily compromised — powdering or actively coming away — I stop and seek specialist conservation advice.
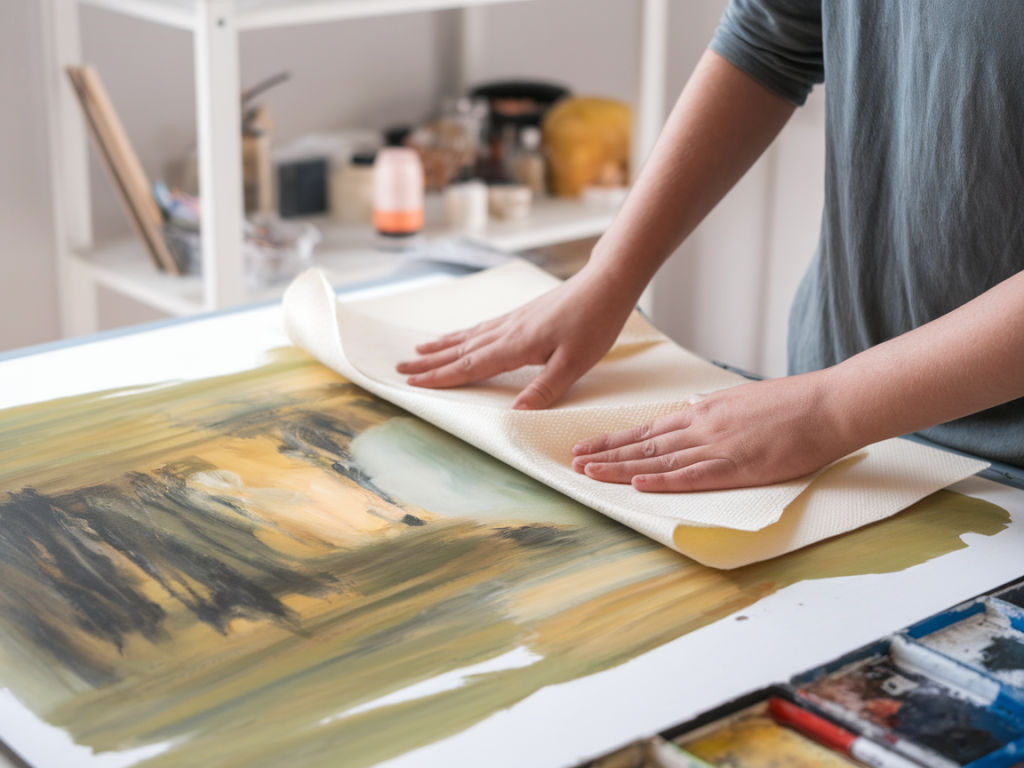
Step 1 — gentle absorbent blotting
When a fresh spill has just happened, the quickest, least invasive action is absorbent blotting. My go-to materials are:
Technique:
For older, dried-in water stains, blotting won’t remove stains but can remove surface dirt and reduce residual moisture if the work has been recently wetted.
Step 2 — controlled rehydration (when appropriate)
Sometimes the paint has dried into a distorted shape or tide lines remain that you want to soften for further work. Controlled rehydration can relax the fibres and allow reworking, but it’s a delicate business.
Options I use:
Important precautions:
Humidification helps if your goal is to flatten cockling or to be able to rework the gouache with minimal risk of scumming. If pigments are known to be soluble, avoid rewetting altogether unless you can isolate the area and stabilise pigments first.
Step 3 — stabilization with conservation adhesives
Once the paper is dry and any rewetting has been carefully managed, I turn to adhesives for lifting lifted fibres, securing flaking paint and consolidating delaminated areas. The adhesives I most commonly use are:
| Adhesive | When I use it | Notes |
|---|---|---|
| Methyl cellulose (2% aqueous) | General consolidation of media, lifting cockled paper | Neutral, reversible with water; good for re-adhering flaking pigments in small areas |
| Wheat starch paste | Edge repairs, small tears, lining paper | Archival, strong, reversible with moisture and poulticing |
| Archival PVA (e.g. Plextol B500) | When a stronger, flexible bond is needed | Use sparingly; not fully reversible with water but more stable than crafting glues |
Application techniques:
Always work with the minimum amount of adhesive needed. Less is more — excess can seep through paper and alter the surface sheen or staining.
Retouching losses and retouching ethics
If water removed small areas of pigment, I will sometimes inpaint using reversible dry media (coloured pencil, pastel) or watercolour/gouache matched carefully and applied sparingly. My guiding principle is to make the work stable and legible while keeping interventions clearly secondary to the original. I usually document any retouching in my notes and on a photograph.
Flattening and drying
After stabilisation, I dry the sheet between blotters under moderate weight (books or a weighted board) to flatten cockle. Use a barrier layer like polyester film (Mylar) or baking parchment to avoid adhesion to blotters. Change blotters if they become too damp. For stubborn cockle, a longer period under weight (24–72 hours) after a careful humidification session usually does the trick.
When to seek professional help
I always recommend a conservator when:
Conservators have access to suction tables, specialised adhesives (like BEVA 371 for certain linings) and advanced consolidation techniques that go beyond studio treatments.
Practical kit for studio rescue
My compact rescue kit includes:
Some brand suggestions: I use Microcrystalline Methyl Cellulose from Talas or Klucel G (a commonly used brand), and wheat starch paste prepared from Oragel-grade flour or pre-mixed paste by Talas. Plextol B500 is my preferred archival PVA if I need a more robust flexible adhesive.
Finally, I keep a sketchbook of rescue cases: before and after photos, what worked and what didn’t. Each painting teaches you something new about your materials’ behaviour. With calm, careful steps — blot, rehydrate only when safe, stabilise with appropriate adhesives and document everything — most water-damaged gouache works can be stabilised and, in many cases, artistically recovered without drastic loss of original character.