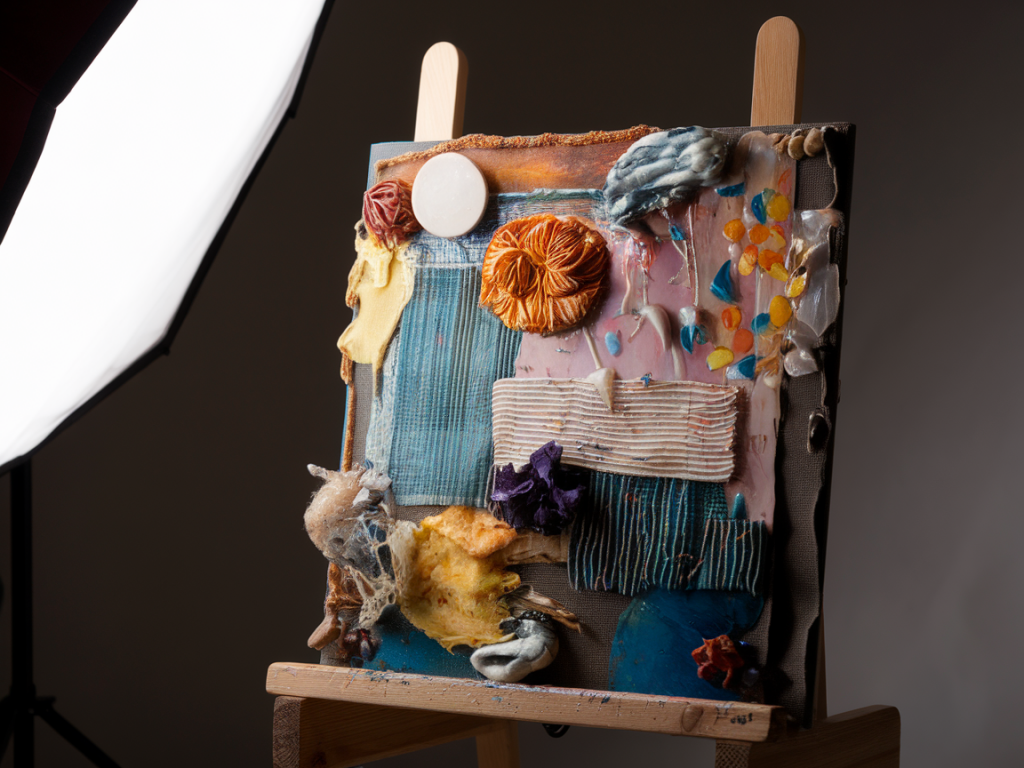
I photograph a lot of textured, mixed-media pieces for the journal and for my own practice, and over the years I’ve developed a simple approach that works reliably with just a phone and a single light. The aim is to make texture sing — to capture ridges of collage, brushstrokes, torn edges and surface sheen — without needing a studio full of kit. Below I share a one-light set‑up, camera settings to try, and practical tips that save time and make your work look like the real texture is coming through the screen.
Why one light?
One light is enough to sculpt texture. With a single directional source you create shadows that reveal the relief of the surface; multiple lights can flatten those shadows and reduce the sense of depth. For work with lots of layers — collage, impasto, glued-on elements — that shadow is what conveys the materiality. That said, one light can be softened or controlled to avoid harsh contrast, and you can always add reflectors for subtle fill.
What kit you need
You don’t need much. Here are the essentials I reach for:
Phone with a good camera (iPhone 12/13/14/15, Google Pixel, Samsung S-series all work well).A tripod with a phone clamp — critical for sharp images at lower ISOs.A single continuous light: I often use an LED panel such as the Godox LEDP260C or a small Aputure Amaran 100d for more power. Even a daylight-balanced LED worklight will do.A softbox or a small diffuser: a 50cm octabox or a DIY diffusion panel made from tracing paper.Reflector or white card for gentle fill (foamcore is inexpensive and very effective).Optional: a polarising filter for the phone (clip-on) if you want to reduce glare from varnish or gloss.How I set up the light
I work on a table with the artwork vertical or at a slight angle — almost like an easel — because that mimics how we view paintings and helps manage reflections. My typical set-up:
Place the light to one side and slightly above the artwork, at about 30–45° from the surface. This angle throws shadows across the texture without creating a strong side-on silhouette.Position the light 60–120cm away depending on its power. The further away, the harder the light; move it closer and use diffusion to soften shadows.Use a softbox or place a diffuser between the light and the work. I like a slightly hard-edge shadow so texture reads clearly, so I often use a medium diffusion rather than a heavy softbox.Set a white card or reflector on the opposite side, lower than the light, to gently lift the darks and preserve detail in the shadowed grooves.Camera settings on your phone
Switch your phone to a manual/pro mode using the native app (if available) or a third-party app like Halide (iOS) or ProCam. These let you control ISO, shutter speed and white balance.
Format: shoot RAW if your phone/app allows (DNG). RAW retains texture and lets you recover highlights later.ISO: keep it low — typically ISO 25–200. Low ISO preserves detail and reduces noise in the tiny shadowed areas.Shutter speed: because you’re on a tripod, you can use slower shutter speeds. I usually aim for 1/15 to 1/60 depending on my light level. If your phone won’t do very slow shutter speeds, increase the light.Aperture: phone lenses are fixed, but if you have a phone with a variable aperture or multiple lenses, use the main wide lens, not the portrait/tele for edge-to-edge sharpness.White balance: set it manually to match your light (5000–5600K for daylight LEDs). Avoid auto white balance — it can shift between frames and change how materials look.Focus: tap to focus on the most textured area. Use the focus lock if you’re taking multiple frames.Angles and composition
Texture is revealed by oblique light. I shoot from a few angles:
Straight-on: good for overall colour and composition, but texture reads less strongly.Slight oblique (10–20°): my default. Keeps the work parallel to the camera but enhances surface texture.Low oblique (20–40°): best for dramatic, sculptural texture. If you use this, correct perspective in post to avoid skewed edges.Take multiple shots at different angles and heights. Small changes in angle can make a big difference to how shadows fall across layered edges or raised brushwork.
Controlling reflections
Glaze, varnish and metallics can produce hotspots. A few strategies I use:
Polariser: a clip-on polarising filter helps reduce glare from varnishes and metallic inks.Move the light: shift the light up/down or left/right until reflections fall out of frame or become less intrusive.Change the angle of the artwork: tilting the work slightly can move specular highlights without changing the texture reading.Focusing on colour and detail
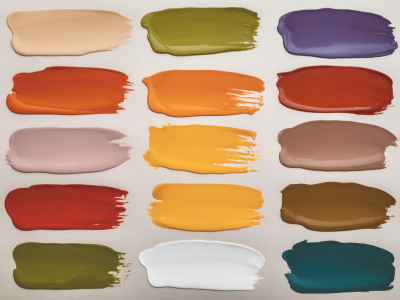
If your piece has rich colour as well as texture, balance exposure so highlights aren’t blown and shadow detail is preserved. I expose for the highlights — protecting the brightest whites — then lift midtones and shadows in RAW processing. This keeps texture in the deep recesses intact.
Practical workflow and editing
My usual workflow:
Shoot RAW files: one oblique, one straight-on, one low oblique if texture is important.Import to Lightroom Mobile or Snapseed. In Lightroom I adjust exposure (protect highlights), increase clarity and texture slightly (+10–25 depending on taste), and use the Tone Curve to bring out depth.Use selective adjustments: dodge tiny highlights and lift shadows in grooves to accentuate texture where needed.Correct perspective if necessary using the geometry tools — I avoid overdoing it to keep the work's scale honest.Troubleshooting common problems
Here are quick fixes for issues I see often:
Too flat: move the light further to the side to increase shadow; reduce fill from reflectors.Too contrasty: add diffusion or bring the light closer with stronger diffusion to soften shadows.Loss of colour: check white balance and shoot RAW so you can correct accurately in post.Noise in shadows: raise light level or reduce shutter speed on tripod; avoid pushing ISO.Quick checklist before you shoot
| Tripod mounted | Yes |
| Light positioned 30–45° | Yes |
| Diffuser/softbox | Medium |
| White card/reflector opposite | Yes |
| Shoot RAW | Yes |
| Manual white balance set | Yes |
Photographing textured, mixed-media work with a phone is entirely possible and, with a one-light approach, wonderfully straightforward. You’ll find that small adjustments — moving the light a few centimetres, changing the angle by a few degrees, or swapping a heavy diffuser for a lighter one — have a huge impact on how texture reads. Above all, experiment and take several frames: the one you think is best in the moment may not be the one that communicates the piece most faithfully once you view it larger.