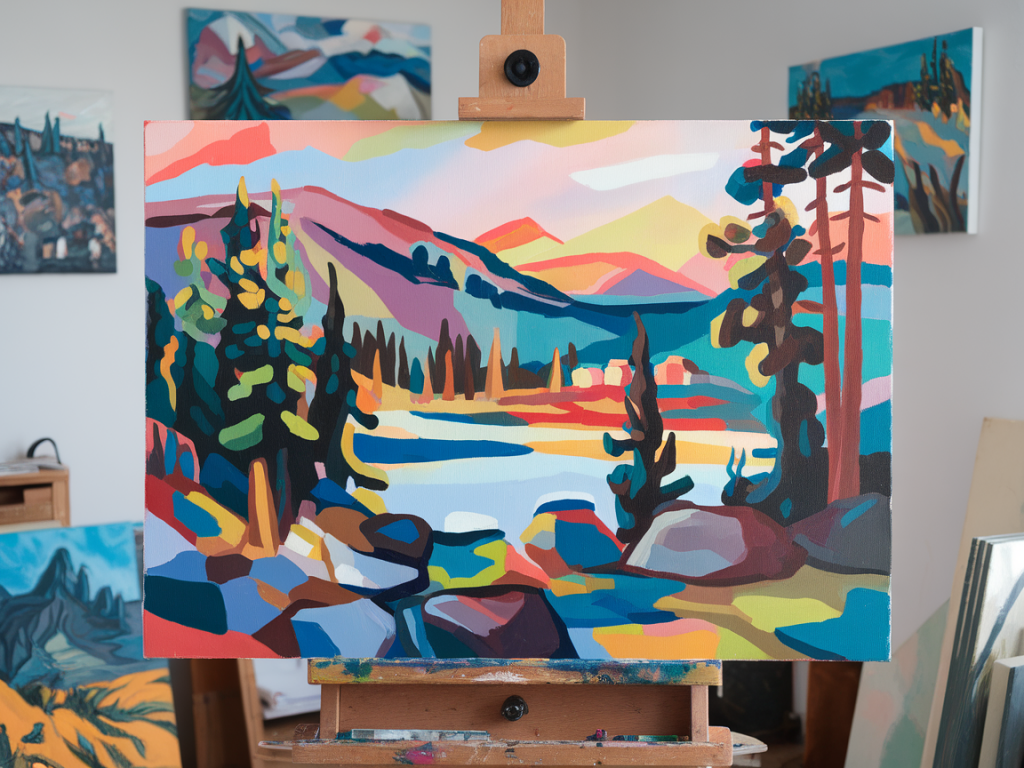
I often use gouache as an underpainting when I want my acrylic highlights to sing: the matte, velvety base of gouache gives a colour depth and immediacy that acrylics alone sometimes lack. Over the years I've developed a repeatable, studio-friendly workflow that works with both high-end paints (I reach for Schmincke when I want maximum pigment strength and mixing reliability) and more affordable student brands (think Daler-Rowney, Winsor & Newton Galeria or similar). Below I share what I do to get consistent results — from colour recipes and surface prep to how I protect the gouache layer so acrylics sit on top cleanly.
Why use gouache underpaintings with acrylic highlights?
Gouache gives a soft, luminous matte surface that helps midtones and shadows read clearly without the sheen present in acrylic alone. When you put juicy acrylic highlights on that base, the contrast in finish and opacity makes the highlights appear more vibrant. Gouache is also forgiving: you can scrape back, rework edges, and create subtle transitions before committing with acrylic.
My materials and why they matter
I keep a small selection of trusted paints and tools so recipes are repeatable:
Schmincke Horadam/Designers’ Gouache for professional mixes — excellent pigment load, consistent opacity and better lightfastness.Student gouache brands (Daler-Rowney, Galeria, Reeves) for studies and cheaper editions — more filler, less pigment strength but useful when you need many colour variations without breaking the bank.Acrylics: I use a medium-viscosity titanium white and transparent acrylic glazing medium for highlights and glazes.Surfaces: heavyweight watercolour paper (300gsm+), claybord or panel primed with acrylic gesso.Fixative options: workable fixative spray or a thin layer of acrylic matte medium for sealing.Comparing Schmincke and student gouache — a quick table
| Characteristic | Schmincke (professional) | Student brands |
|---|
| Pigment load & vibrancy | High — very strong, predictable mixes | Lower — can be duller, need more paint for same coverage |
| Opacity | Very good — titanium-lean but pigmented | Inconsistent — may require multiple layers |
| Re-wettability | Re-wets smoothly | Can re-wet patchily due to fillers |
| Lightfastness | Generally superior | Varies — check labels |
| Cost | Higher | More affordable |
This doesn't mean student brands are not useful — far from it. I use student gouache for preliminary studies and colour experiments where repeatability matters less. For commissioned work or pieces I want to archive, I use Schmincke for the underpainting so the hues stay true over time.
Creating repeatable underpainting recipes
Repeatability comes from two things: precise colour recipes and consistent value structure. Here’s my approach:
Make mixing notes: I write down mixes as simple ratios — e.g. Ultramarine Blue 2 : Burnt Sienna 1. This is easier to reproduce than percentages.Use a swatch card: on a scrap of the same support, paint a small sample of the mix, label it with the ratio and a quick note about opacity and drying behaviour.Keep value studies: Before colour, block in three values (dark, middle, light) using a single neutral mix. Once you have a readable value structure, apply your colour mixes within those values.Create a palette system: For pieces in a series, restrict yourself to 4–6 gouache colours and make named mixes so you can repeat them across works.Step-by-step: underpainting workflow I use
I follow a consistent sequence that helps me control saturation and ensure acrylics work on top.
Surface prep: If I'm working on paper I stretch it or mount it. For panels, a thin coat of white gesso gives a stable base.Value block-in: I mix a neutral (Ultramarine + Burnt Sienna + small touch of Titanium White) and paint the darks and midtones. I avoid pure black — it flattens the image.Introduce colour: Over the value map I glaze or apply semi-opaque colour areas with gouache. For repeatable vibrancy I keep a base layer slightly more saturated than I think I need; the acrylic highlights will read against it.Allow to dry fully: Gouache dries fast, but thicker areas can take longer. I wait at least 30–60 minutes depending on humidity; on paper I give it longer to avoid cockling when I add acrylics.Seal or not? If I'm worried about gouache reactivating when I use acrylics, I apply a very thin coat of acrylic matte medium as an isolation layer. Alternatively, a light mist of workable fixative works well on paper.Sealing the gouache — methods and caveats
Gouache is water-soluble; acrylics are water-based too, which can be a problem if you apply acrylics while gouache is still re-wettable. I use one of these two methods depending on the surface and desired finish:
Workable fixative spray: quick, preserves matte look, but can slightly darken colours on some brands. I spray lightly, let it cure 10–20 minutes, then proceed with acrylic.Thin acrylic matte medium wash: I dilute matte medium with water (approx 2:1 medium to water) and brush a very thin layer over the gouache. This seals the surface and gives acrylics something to bite to. It also evens the sheen between layers.Test on a sample first — some highly pigmented Schmincke mixes can shift slightly under a medium, though less so than student gouaches.
Placing acrylic highlights
Once sealed, acrylic highlights are straightforward. I use:
a thick, opaque titanium white or heavy body white for punchy highlights;transparent acrylic glazes for luminosity (e.g., quinacridone red or phthalo blue diluted with glazing medium) to deepen shadows or cool down an area;a small round brush for precise marks and a filbert or flat for edges.Because the gouache underpainting is matte, the acrylic highlights will pop more than they would on an all-acrylic build. I restrain myself to a few decisive highlights — too many can flatten that effect.
Troubleshooting common issues
Here are problems I’ve encountered and how I solve them:
If gouache reactivates under acrylic: you didn’t seal it fully. Apply a thin acrylic medium layer and let it cure overnight.If student gouache looks dull after sealing: try increasing pigment ratios in mixes (use less white) or switch to a more transparent base colour for glazing rather than opaque mixtures.If colour shifts when sealing: test your specific pigment mixes on a swatch card. Some pigments (notably pale yellows) are sensitive; Schmincke tends to be more stable.Keeping it repeatable
Repeatability is a mix of discipline and good record-keeping. My checklist before I start a body of work:
Prepare swatch cards with ratios and notes.Photograph colour mixes and label them with the project name and date.Use the same support type throughout the series.Note environmental conditions (approx humidity and temperature) if I'm doing very color-sensitive work.Using this system, I can reproduce a mood or specific hue across multiple panels with a high degree of consistency — and I can revert to earlier recipes years later if I need to match colours.
If you'd like, I can share a printable swatch card template or a small set of starter recipes I use (a cool neutral, a warm neutral, and three colour pairs that play well together). Which would be most useful for your practice?