I run and take part in a lot of studio critiques — as a teacher, organiser and fellow maker — and I've learned that a carefully timed 60-minute session can be transformational for a body of work heading towards an exhibition. The trick is to make space for focused looking, honest but helpful feedback, and clear next steps. Below I share a structure I use regularly, along with prompts, facilitation tips and practical details to keep the conversation productive and encouraging.
Why 60 minutes?
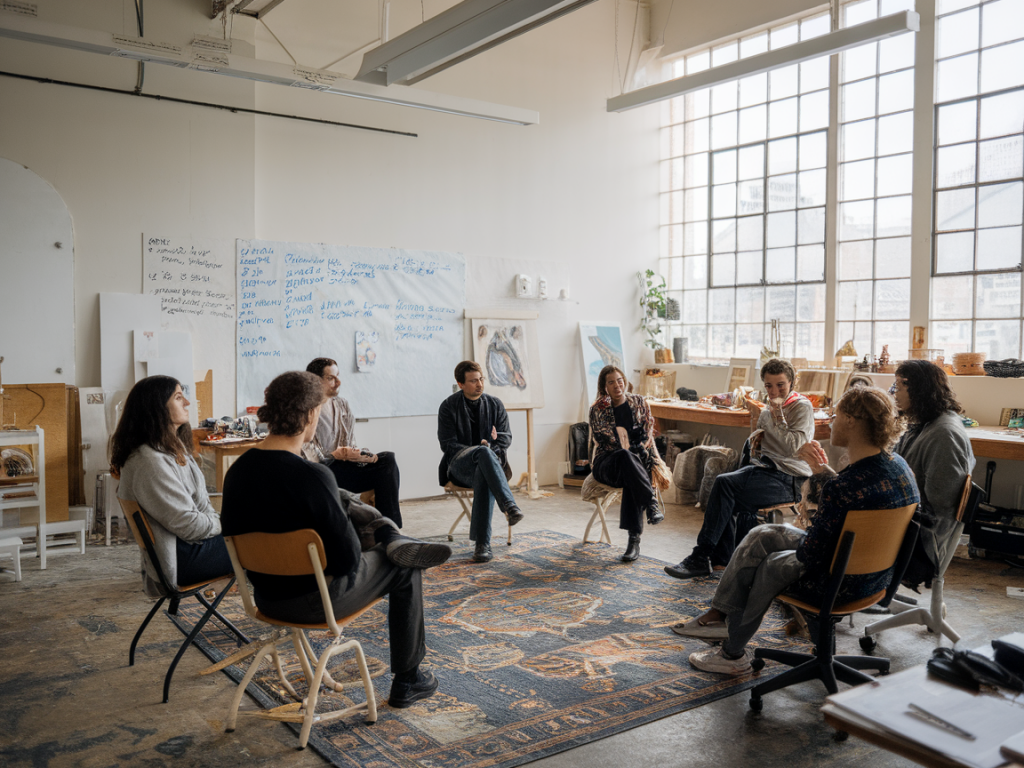
Sixty minutes is long enough to look closely at a handful of pieces and to dig beneath first impressions, but short enough to maintain intensity and concentration. For me, a one-hour session is the sweet spot: it forces prioritisation, avoids drift and respects attendees’ time. When I organise critiques I usually cap the group at 6–8 people so everyone can speak and the session stays lively.
Before the session: preparation (10–15 minutes of your time, in advance)
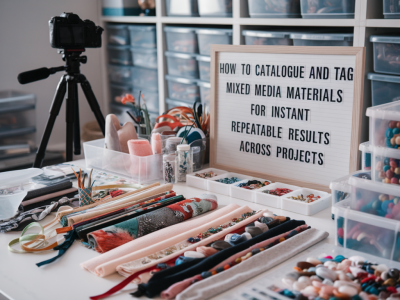
Good preparation is everything. I ask the artist to send an email or shared folder with images and brief statements ahead of time. This saves minutes in the session and allows participants to arrive with context.
I often use Google Drive or Dropbox for sharing images; for in-person critiques I pin or lean works against the wall with clear labels. If you’re meeting remotely, ask everyone to open the images before the start and mute unless invited to speak.
Session structure (60 minutes)
| 0–5 minutes | Welcome, framing and practicalities |
| 5–10 minutes | Artist introduction and stated goals |
| 10–40 minutes | Focused looking and feedback (main critique) |
| 40–55 minutes | Responsive conversation and targeted suggestions |
| 55–60 minutes | Action points and close |
0–5 minutes: Welcome and frame the session
I open with a quick welcome and a reminder of the session’s purpose: to help the artist sharpen decisions before exhibition. I set one rule: feedback should be specific and actionable. That means avoiding vague praise or offhand critiques like “I don’t like it” without explanation. I also invite people to speak from their own experience — “I notice…” rather than “You should…” — which keeps the tone collaborative.
5–10 minutes: Artist introduction and goals
The artist has 3–5 minutes to describe the work and state the specific questions they want answered. I ask them to say what stage the work is at (finished / near-finished / experimental), what they’re worried about, and what they hope to achieve in the exhibition. These goals become the lens through which the group gives feedback.
10–40 minutes: Focused looking and first reactions
This is the meat of the session. I structure this time as follows:
To keep feedback useful, I encourage participants to address these areas where relevant:
40–55 minutes: Responsive conversation and targeted suggestions
Once initial reactions are on the table I steer the conversation toward concrete revisions. I ask the group to offer one experimental next step for the artist — something they could try quickly in the studio. These should be low-risk, practical suggestions: a change in framing, a tweak to saturation, a different ground, an adjustment to edge handling, or adding a small collage element to resolve a composition.
Examples of useful prompts I use:
When tools are relevant I mention them: testing varnishes (Winsor & Newton Artisan retouch varnish for a matte finish), trying spray fixatives for pastel marks (make sure to use in a ventilated area), or using warm LED bulbs to preview exhibition lighting.
55–60 minutes: Action points and close
In the final minutes I summarise the top three actions the artist should take in the next week. These are specific, time-bound tasks — not vague intentions. For example:
We also set one follow-up: a short email check-in or a photo update on progress. That accountability is golden — artists who share follow-up images are more likely to complete decisive edits.
Facilitation tips I use
Remote tweaks
Online critiques need a little extra discipline. Share images beforehand, ask attendees to keep cameras on where possible, and use a platform with screen-share. I ask participants to write short typed notes in the chat as they view images — these become a quick record and help quieter members contribute.
After the session: follow-up
I always send a concise summary email within 24 hours that lists the agreed action points and who will follow up. If possible, I include a 2–3 bullet list of “quick experiments” the artist can try in a single studio session — simple things that produce immediate evidence and help decide the next move.
One habit I encourage is keeping an experimental page in a sketchbook or a folder labelled “Crit Experiments.” Photograph attempts and note the date; over time you’ll build a practical archive of solutions to draw from for future shows.
Running a 60-minute critique this way keeps the energy high, the feedback useful and the artist empowered to make decisive changes before an exhibition. If you’d like, I can share a printable one-page checklist you can use as your session script — just say the word and I’ll format it for you.